Sure! The step-by-step guide “How to preheat an electric grill press?” is here to help you get the most out of your electric grill press. This handy kitchen gadget is perfect for grilling sandwiches, paninis, and more. The purpose of this guide is to show you how to properly preheat your electric grill press, so you can achieve delicious, evenly cooked meals every time. It’s quick, easy, and will have you grilling like a pro in no time!
Table of Contents
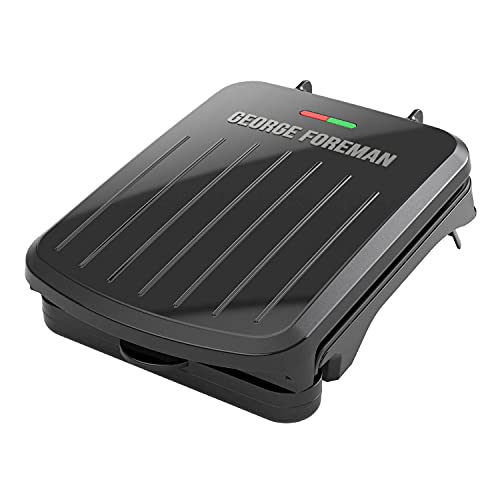
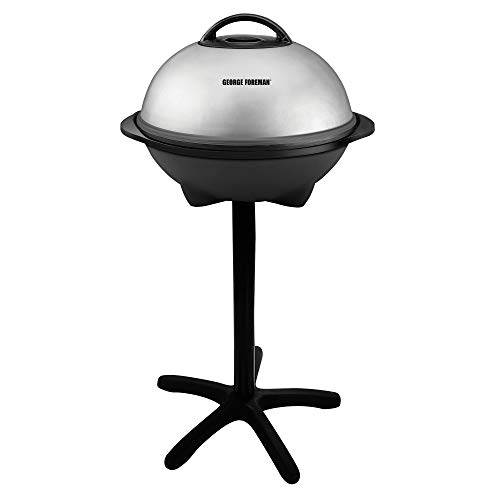
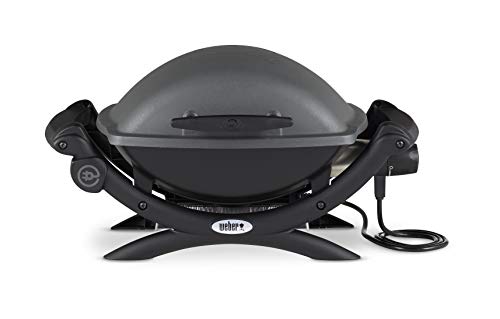
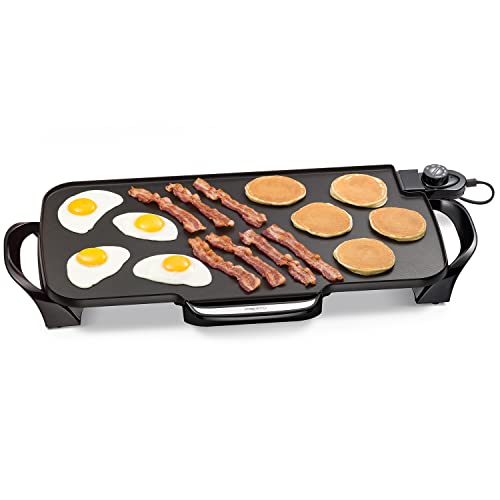
Top Picks for Grilling Perfection!


Step 1: Gather the necessary equipment
To gather the necessary equipment, start by making sure you have an electric grill press. This tool will help you achieve evenly cooked and beautifully grilled dishes. Next, ensure you have access to a power source to plug in your grill press. Finally, check if there are any other accessories you may need, such as a grill brush for cleaning or a meat thermometer for checking the internal temperature of your food. Having these items on hand will ensure a smooth and enjoyable grilling experience.


Step 2: Check the grill press manual
To ensure you preheat your electric grill press correctly, it is essential to read the manual that came with it. Here’s what you need to do:
- Locate the manual that came with your electric grill press.
- Take the time to read through the manual thoroughly to understand the specific preheating instructions.
- Pay close attention to any temperature settings or time recommendations mentioned in the manual.
- Familiarize yourself with any safety precautions or special features of your grill press.
Following these steps will help you preheat your electric grill press correctly and ensure you get the best results when cooking.
Step 3: Plug in the grill press
To plug in the grill press, first, locate a nearby power source. Look for an electrical outlet within reach of the grill press. Once you find one, insert the plug of the grill press into the outlet securely. Make sure the plug is fully inserted and the grill press is connected to a reliable power source.

Step 4: Set the desired temperature
To set the desired preheating temperature on your electric grill press, locate the temperature control feature. Turn the dial or press the buttons to adjust the temperature according to your preference. Make sure to set it to the desired temperature before starting the preheating process.
Step 5: Allow the grill press to preheat
Wait for the grill press to reach the set temperature. This step is crucial to ensure even cooking and achieve that perfect sear on your food. Depending on the specific model you are using, it may take a few minutes for the press to preheat. Be patient and resist the temptation to rush this step, as it will greatly impact the final result of your grilled masterpiece!


Step 6: Monitor the preheating process
To monitor the preheating process, simply observe the temperature display or indicator light on your grill press. Once the display or light reaches the desired temperature, you’ll know that it has finished preheating. For instance, if you set your grill press to preheat at 400°F, keep an eye on the temperature display until it reaches 400°F. Similarly, if your grill press has an indicator light that turns green when it’s ready, watch for the light to change color.
Step 7: Test the preheated grill press
To test the preheated grill press, gently touch its surface to check if it is hot enough for your cooking needs. Be careful not to burn yourself. For example, lightly tap your finger on the grill press and see if it feels hot to the touch. If it does, then it is ready for use.
Step 8: Adjust the temperature if necessary
If the preheated temperature is not suitable for your cooking requirements, simply use the temperature control feature to adjust it accordingly. For example, if you’re baking a cake and the recipe calls for a temperature of 350°F, but your oven is preheated to 375°F, you can easily lower the temperature by turning the temperature dial or pressing the appropriate buttons on the control panel until it reaches 350°F. Conversely, if you need to increase the temperature, you can do so by following the same steps. Adjusting the temperature allows you to achieve the perfect cooking results for your specific needs.
Step 9: Begin cooking with your preheated grill press
To begin cooking with your preheated grill press, place your desired food items on the grill surface. Close the press firmly, applying even pressure. Leave the food to cook for the recommended time, flipping it halfway through. Enjoy the delicious results of using your grill press!
Wrapping it Up
Conclusion:
Congratulations! You now know how to preheat an electric grill press like a pro. By following the simple steps of gathering the equipment, consulting the manual, setting the temperature, and monitoring the process, you’ll be able to achieve perfectly grilled delicacies every time. So go ahead, fire up your grill press and get ready to enjoy some mouthwatering meals. Happy grilling!
Essential Supplies


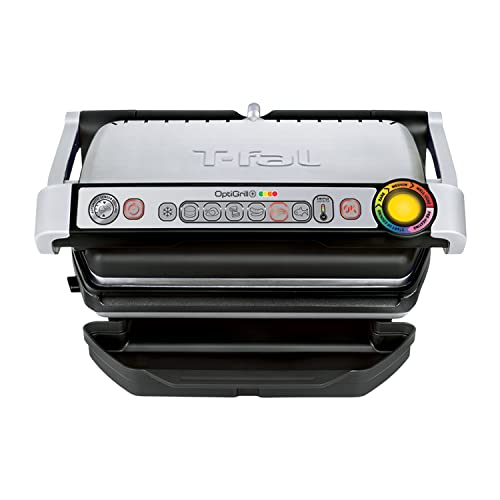
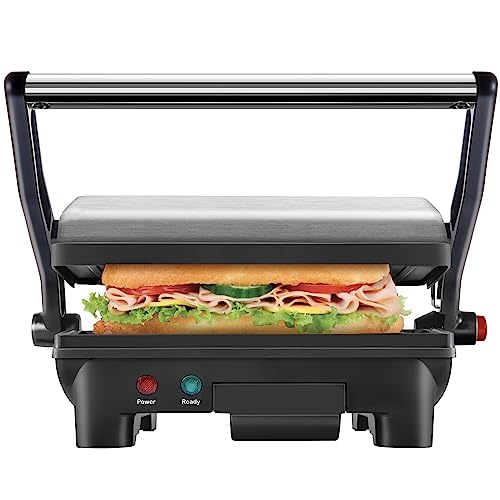


Get Grilling Like a Pro!
Getting the Most Out of Your Electric Grill Press
- Start by plugging in the electric grill press and allowing it to preheat for a few minutes
- While the grill press is heating up, prepare the food you want to cook. This can include items like sandwiches, burgers, or vegetables
- Once the grill press is hot, open it up and place your food on the bottom plate. Make sure to arrange it evenly and not overcrowd the surface
- Close the grill press and apply gentle pressure to ensure even cooking. Be careful not to press too hard, as it can flatten your food excessively
- Cook the food according to the recipe or your desired level of doneness. Keep an eye on the cooking progress to avoid overcooking
- When your food is ready, carefully open the grill press, using oven mitts or heat-resistant gloves to protect your hands
- Use a spatula to remove the cooked food from the grill press, and be cautious of the hot surfaces
- Unplug the grill press and allow it to cool down before cleaning it
- Remember, it’s always a good idea to consult the user manual that comes with your specific electric grill press model for any additional instructions or safety precautions. Enjoy your grilled creations!
Frequently Asked Questions about Electric Grill Press
Are there any specific recipes or cooking techniques that are ideal for an electric grill press?
Certainly! When using an electric grill press, there are several recipes and cooking techniques that work really well. Here are a few ideas:
- Panini Sandwiches: The electric grill press is perfect for making delicious paninis. Just assemble your sandwich with your favorite fillings, brush the bread with some olive oil or butter, and then grill it in the press. The press will give your sandwich those beautiful grill marks and melt the cheese to perfection.
- Grilled Vegetables: You can also use the electric grill press to grill vegetables. Cut them into slices or chunks, brush them with some oil, sprinkle with salt and pepper, and then place them on the grill press. They will cook quickly and develop a lovely charred flavor.
- Chicken Breast: If you want to cook chicken breast, the electric grill press can help you achieve a juicy and tender result. Season the chicken with your preferred spices and place it on the grill press. Make sure to adjust the temperature and cooking time according to the thickness of the chicken breast.
- Burgers: The electric grill press is great for making burgers. Shape your patties, season them with salt and pepper, and then grill them on the press. The heat from the top and bottom will cook the burgers evenly and give them a nice sear.
What safety features are included in an electric grill press?
When it comes to safety features, electric grill presses typically have a few important ones. First and foremost, they usually have a built-in heat-resistant handle, which is designed to stay cool during operation, preventing any accidental burns. Additionally, many electric grill presses come with a non-slip base or rubberized feet, ensuring stability and reducing the risk of the press sliding or tipping over while in use. Some models also have an adjustable hinge, allowing you to control the pressure applied to your food and preventing it from getting crushed. Lastly, most electric grill presses have an automatic shut-off feature, which turns off the press after a certain amount of time to prevent overheating or potential accidents if you happen to forget about it. Always remember to read the instruction manual that comes with your specific electric grill press to fully understand its safety features and instructions. Stay safe and enjoy grilling!
What materials are commonly used in the construction of an electric grill press?
Sure! Electric grill presses are commonly made with a combination of materials. The main body is usually constructed using stainless steel or durable plastic. The cooking plates, which provide the actual grilling surface, are typically made from non-stick materials such as aluminum or ceramic. The handle and other smaller components are often made from heat-resistant plastics or rubber. These materials are chosen for their durability, heat resistance, and ease of cleaning.
How does the size of an electric grill press impact its cooking capacity?
The size of an electric grill press directly affects its cooking capacity. A larger grill press generally has a larger cooking surface, allowing you to cook more food at once. This means you can grill multiple items such as burgers, steaks, or vegetables simultaneously. On the other hand, a smaller grill press would have a limited cooking area, making it suitable for cooking smaller portions or single servings. So, when choosing an electric grill press, consider how much food you want to cook at once to ensure it meets your cooking needs.
