Grinding coffee beans is an essential step to brewing a delicious cup of coffee. To begin, you will need a coffee grinder and fresh coffee beans. Measure the desired amount of beans based on the number of cups you want to brew.
Next, adjust the grinder settings to the appropriate level for your preferred brew method. For a coffee maker, a medium to medium-fine grind is usually recommended.
Now, place the coffee beans into the grinder and secure the lid. Start grinding and let the grinder do its job. It’s important to grind the beans consistently to ensure an even extraction of flavors.
Once the beans are ground to your desired consistency, open the grinder and carefully remove the ground coffee. Transfer it to the coffee maker’s filter or brewing device.
Finally, add water to the coffee maker according to the manufacturer’s instructions and start the brewing process. Enjoy the aroma of freshly ground coffee as your coffee maker works its magic.
Remember, freshly ground coffee beans make a significant difference in the flavor of your coffee. So, take your time, experiment with different grind settings, and find the perfect balance for your taste buds. Happy brewing!
Table of Contents
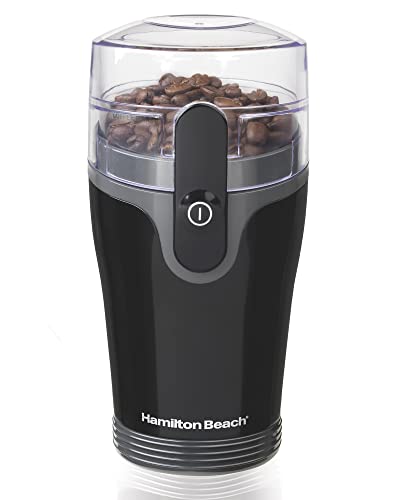
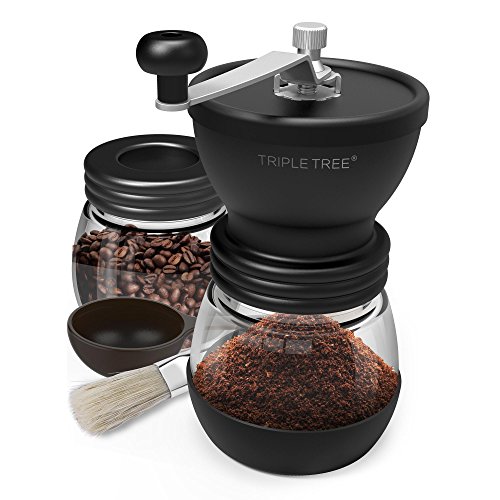
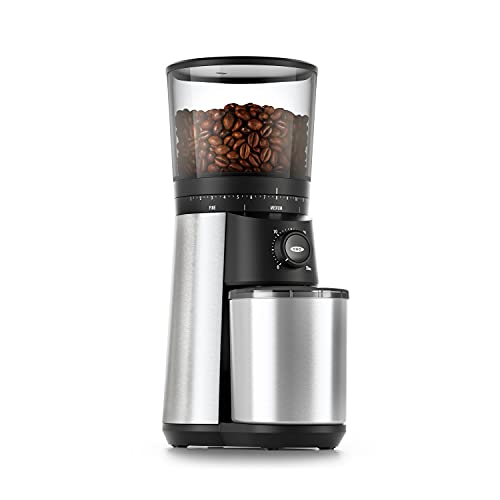
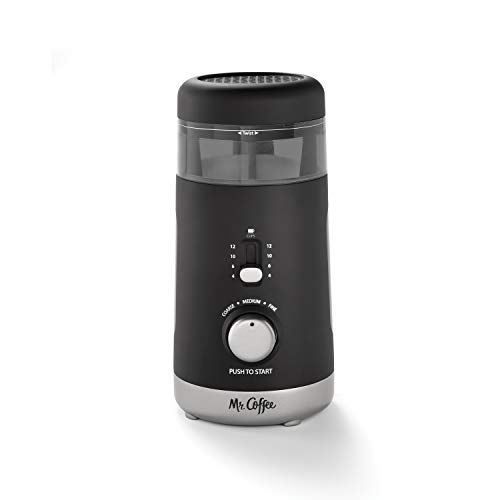
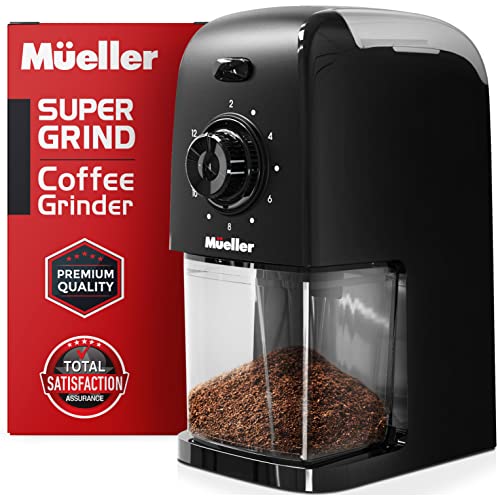
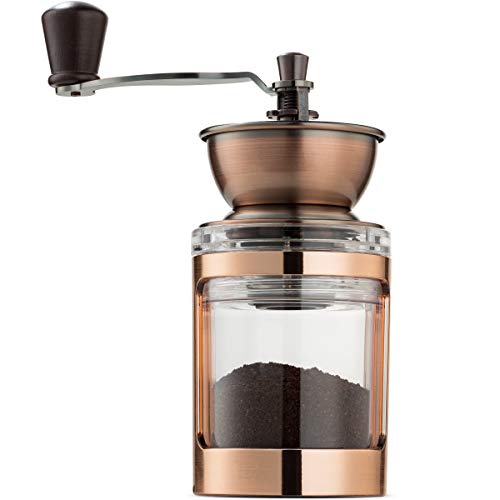
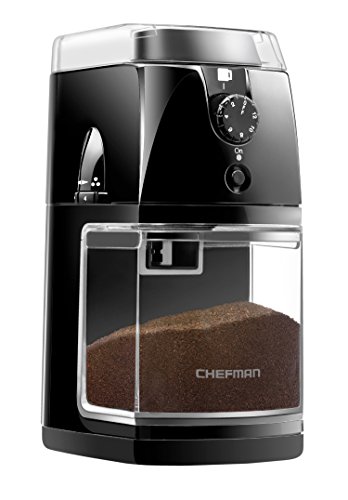
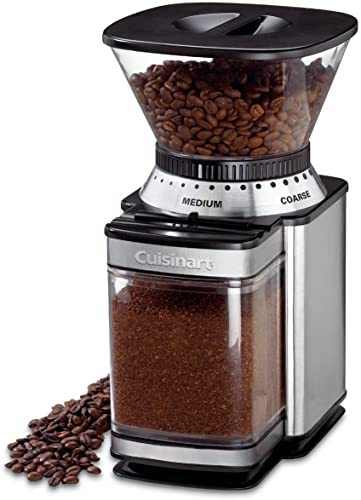
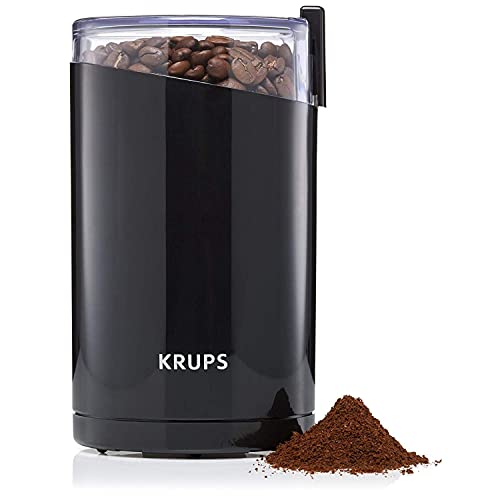
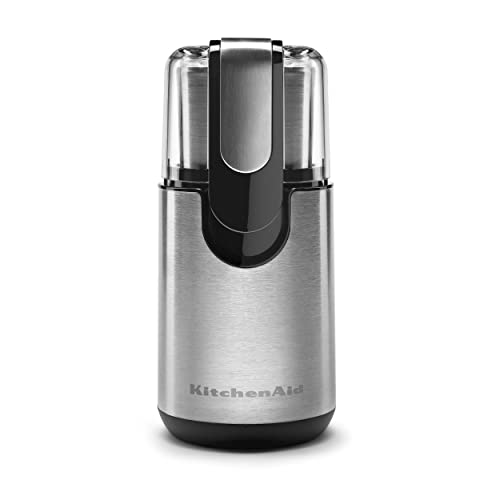
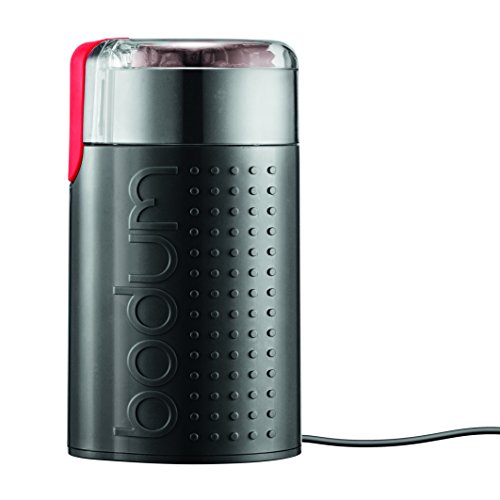
Top Picks for Perfect Coffee Makers!


Gather your equipment
Before grinding your coffee beans, gather all the necessary equipment. Ensure you have a coffee grinder, coffee beans, and a coffee maker. This will ensure a smooth and efficient coffee-making process.
Choose the right grind size
To choose the right grind size for your coffee beans, follow these simple steps:
- Regular coffee maker: For a standard drip coffee maker, a medium grind is ideal. This will help achieve a balanced extraction and ensure a flavorful cup of coffee. Adjust your grinder settings to achieve a medium grind.
- Espresso machines: If you’re using an espresso machine, you’ll need a fine grind. This allows for a slower extraction and helps create the rich, concentrated flavor that espresso is known for. Adjust your grinder settings to achieve a fine grind.
Remember to adjust the grinder settings accordingly for each type of coffee maker you use. For example, if you’re using a burr grinder, you can experiment with different settings to find the perfect grind size for your taste preferences. Enjoy your freshly brewed coffee!
Measure your coffee beans
- Grab a tablespoon and your bag of coffee beans.
- Start by determining how much coffee you want to brew. As a general guideline, use one to two tablespoons of coffee beans for every six ounces of water.
- Take the tablespoon and scoop the desired amount of coffee beans into it. Level it off so that the measurement is accurate.
- Pour the measured coffee beans into your coffee grinder or brewing device.
- Repeat the process if you need to measure more coffee beans.
- Once you have measured the desired amount, proceed with grinding or brewing your coffee as usual.
By accurately measuring your coffee beans, you can ensure that you achieve the perfect coffee-to-water ratio and brew a delicious cup of coffee every time. Happy brewing!

Add the coffee beans to the grinder
To add the coffee beans to the grinder, start by opening the lid of your coffee grinder. Then, carefully pour the measured coffee beans into the hopper. Remember not to overfill it, as this can impact the grinding process.
Grind the coffee beans
To grind the coffee beans, place the lid back on the grinder and press the grind button. Allow the grinder to run for approximately 20 to 30 seconds, or until you achieve your desired grind size. Remember to consult the grind size recommendations for your specific coffee maker.
Check the consistency
- After you have finished grinding the coffee, the first step is to open the lid of the grinder.
- Take a look at the ground coffee and check its consistency. It should have an even and uniform texture.
- If you spot any large particles in the ground coffee, it is recommended to grind it for a few more seconds to achieve a finer consistency.
- This will ensure that the flavor extraction during brewing is optimal and you get a delicious cup of coffee.
Transfer the ground coffee to the coffee maker
To transfer the ground coffee to the coffee maker, carefully remove it from the grinder. Then, place it into the filter of your coffee maker. Be sure to follow the instructions provided by your specific coffee maker for the correct placement of the filter.
Brew your coffee
Now that you have freshly ground coffee in your coffee maker, follow these simple steps to brew your perfect cup of coffee:
- Check the brewing instructions: Refer to the user manual or the manufacturer’s website for specific brewing instructions for your coffee maker. Different machines may have different settings and ratios for brewing.
- Prepare your coffee maker: Make sure your coffee maker is clean and ready for brewing. Fill the water reservoir with fresh, cold water according to the recommended amount for your desired number of cups.
- Add coffee grounds: Open the coffee filter compartment and place a paper filter or a reusable filter inside. Add the desired amount of freshly ground coffee to the filter. The suggested ratio is usually 1 to 2 tablespoons of coffee grounds per 6 ounces of water, but you can adjust it to your taste.
- Start the brewing process: Close the coffee maker’s lid or secure the filter compartment, ensuring it is properly locked. Place your coffee pot or cup under the dispensing spout. Press the “Brew” or “Start” button to begin the brewing process.
- Enjoy the aroma: As the coffee starts brewing, you’ll be greeted by the delightful aroma of freshly brewed coffee. Take a moment to savor it and get ready to enjoy your cup of joe.
Remember to clean your coffee maker regularly and experiment with different coffee beans and brewing techniques to find the perfect combination that suits your taste. Happy brewing!
Wrapping up your coffee journey
In conclusion, you are now equipped with the knowledge and skills to grind coffee beans for your coffee maker. By taking the time to grind your beans, you can elevate the flavor and aroma of your coffee to new heights. So go ahead and put your newfound expertise to use, and savor the delightful experience of a cup of coffee made from freshly ground beans. Cheers to many more enjoyable coffee moments!
Gather Your Gear!


Master the Grind
Getting the Perfect Brew Every Time!
- Start by reading the instruction manual: Familiarize yourself with the different components of the coffee maker tool set and understand their functions. This will help you use them correctly
- Clean and prepare the tools: Before using the coffee maker tool set, make sure all the tools are clean and free from any residue. This ensures a fresh and hygienic brewing process
- Choose your coffee beans: Select your preferred coffee beans and grind them to the desired coarseness, depending on the brewing method you will be using. Different brewing methods require different grind sizes
- Measure the coffee and water: Use the measuring tools included in the coffee maker tool set to measure the appropriate amount of coffee grounds and water. The measurements may vary depending on your personal taste and the coffee maker you are using
- Follow the brewing instructions: Each coffee maker tool set may have specific brewing instructions. Make sure to follow them carefully to achieve the best results. This may include setting the temperature, adjusting the brewing time, or using specific techniques like blooming the coffee grounds
- Remember, practice makes perfect! Don’t be afraid to experiment and adjust the variables to find your perfect cup of coffee. Enjoy exploring the world of coffee brewing with your new coffee maker tool set!
Get all your questions answered about our coffee maker tool set!
How easy is it to clean the tools after use?
Cleaning the tools after use is generally quite easy. Most tools can be cleaned using warm water and mild soap. You can simply rinse off any dirt or debris, and then use a brush or sponge to scrub away any stubborn stains. After cleaning, make sure to dry the tools thoroughly to prevent rusting. Some tools may require a bit more effort to clean, such as those with intricate parts or special materials, but overall, with proper care, cleaning your tools should be a hassle-free process.
Are the tools in the set compact and easy to store?
Yes, the tools in the set are compact and easy to store. They are designed to be lightweight and take up minimal space, making it convenient for you to store them in your toolbox or any compact storage area.
What is the price range for a coffee maker tool set, and where can it be purchased?
The price range for a coffee maker tool set can vary depending on the brand, quality, and features. Generally, you can find coffee maker tool sets ranging from $20 to $100 or more.
You can purchase coffee maker tool sets at various places. Some popular options include kitchenware stores, home appliance stores, and online marketplaces like Amazon, Walmart, or Bed Bath & Beyond. It’s always a good idea to compare prices and read customer reviews before making a purchase. Happy coffee making!
