In this step-by-step guide, you will learn how to froth milk using your coffee machine to make delicious lattes. Whether you’re a coffee lover or simply enjoy a creamy beverage, this guide will assist you in achieving the ideal froth consistently.
Table of Contents
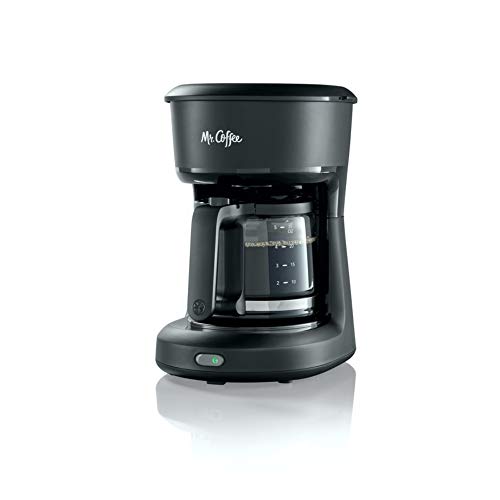
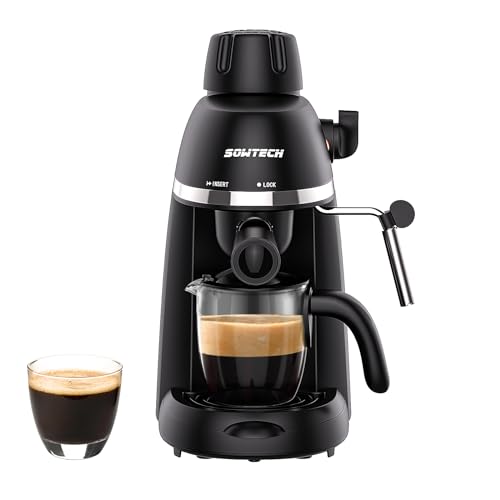
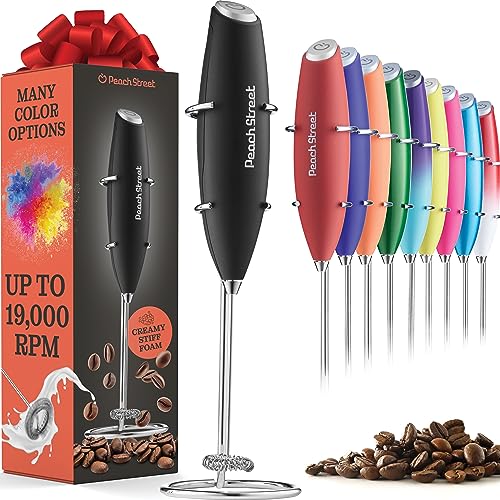
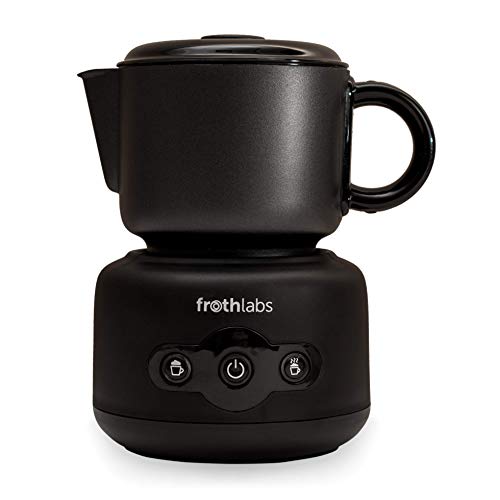
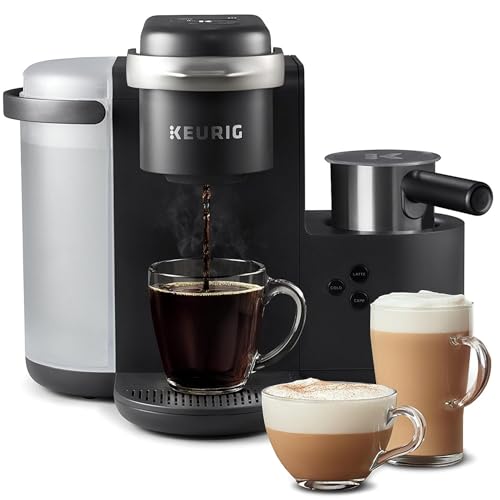
Must-Have Java Makers


Step 1: Gather your ingredients and equipment
Before you begin, gather the following ingredients and equipment:
- Fresh milk: Make sure you have fresh milk on hand to create the perfect froth.
- Coffee machine with a steam wand: This is essential for steaming the milk and creating creamy foam.
- Metal pitcher: Use a metal pitcher to hold the milk while steaming. It helps to distribute heat evenly.
- Thermometer: A thermometer will help you monitor the temperature of the milk, ensuring it is heated to the right level.
Having these items ready before you start will guarantee the best results for your frothy milk.

Step 2: Preheat your coffee machine
To preheat your coffee machine, follow these steps:
- Start by turning on your coffee machine and selecting the preheat option.
- Allow the machine to heat up for the recommended time, usually specified in the manufacturer’s instructions.
- While the machine is preheating, you can prepare your coffee beans or any other ingredients you need for your desired brew.
- Once the preheating process is complete, your coffee machine will be ready to use, ensuring that your milk froths properly and your coffee is brewed at the ideal temperature.
Step 3: Pour your desired amount of milk into the metal pitcher
Measure out the exact amount of milk you want to froth, whether it’s a small or large quantity. Once measured, pour the milk into the metal pitcher. Remember not to fill the pitcher more than halfway, as this gives enough space for the milk to expand while frothing. This step ensures a perfect froth and prevents any overflow.


Step 4: Position the steam wand
To position the steam wand properly, start by placing it just below the surface of the milk. Make sure that the tip of the wand is fully immersed in the milk. This will allow the steam to create the perfect amount of foam for your desired texture. Keep the wand in this position as you continue steaming the milk.
Step 5: Turn on the steam wand
To turn on the steam wand and start frothing the milk, follow these steps:
- Position the steam wand above the pitcher of milk.
- Turn the steam knob counterclockwise to release steam.
- Slowly lower the pitcher until the steam wand is submerged in the milk.
- Move the pitcher in a circular motion to distribute the heat evenly and create a velvety texture.
- Continue frothing until the desired amount of foam is achieved.
Remember to be cautious while handling the steam wand as it can become hot during the frothing process. Enjoy your perfectly frothed milk!


Step 6: Monitor the temperature
- Use a thermometer to monitor the temperature of the milk.
- Insert the thermometer into the milk, making sure it is fully submerged.
- The ideal temperature for frothing milk is between 140°F and 160°F (60°C and 71°C). Adjust the steam wand accordingly.
- Once the milk reaches the desired temperature, turn off the steam wand and remove the thermometer.
- Enjoy your perfectly frothed milk in your favorite beverage!
Step 7: Tap the pitcher and swirl the milk
To tap the pitcher and swirl the milk, start by firmly tapping the bottom of the pitcher on a hard surface. This will help remove any large bubbles that may have formed during the steaming process. Next, gently swirl the milk in a circular motion to incorporate the foam and create a smooth texture. Be careful not to swirl too vigorously, as this may cause the milk to spill over.
Step 8: Pour your frothed milk into your coffee
To pour your frothed milk into your coffee, slowly start pouring it from a height to create beautiful latte art if you’d like. Begin with a gentle pour, gradually increasing the flow until you’ve added the desired amount of milk. Take a moment to appreciate the aroma and enjoy every sip of your delightful homemade latte!
Wrap it up!
So go ahead and give it a try! With just a few simple steps, you can froth milk like a pro and enjoy delicious lattes whenever you want. Say goodbye to expensive coffee shop drinks and hello to homemade perfection. So grab your coffee machine, some fresh milk, and get ready to impress yourself and your friends with your newfound latte-making skills. Cheers to frothy goodness!
Get Your Gear Ready!


Expert Milk Frothing Tips
Brewing Coffee Made Easy
- Start by filling the water reservoir: Open the lid of the coffee machine and pour fresh water into the designated water tank. Make sure not to exceed the maximum fill line
- Add coffee grounds: Depending on your coffee machine, either use pre-packaged coffee pods or measure the desired amount of coffee grounds into the filter basket. Use the recommended coffee-to-water ratio for a balanced taste
- Place the coffee pot or cup: Position the coffee pot or cup under the spout where the coffee will be dispensed. Make sure it’s in the right place to collect the brewed coffee
- Select your desired settings: Many coffee machines have different settings for brew strength and cup size. Choose the appropriate options for your preference. Some machines also have features like programmable timers or temperature control
- Start the brewing process: Once you’ve set your desired settings, press the start or brew button to begin the brewing process. The coffee machine will heat the water and dispense hot, brewed coffee into your cup or pot
- Remember to read the instruction manual that comes with your specific coffee machine model for detailed guidance on its usage and maintenance. Enjoy your freshly brewed coffee!
Got Questions about Coffee Machines? We’ve Got Answers!
What are the different types of coffee machines available?
Sure! There are several different types of coffee machines available. Here are a few popular ones:
- Drip Coffee Maker: This is the most common type of coffee machine that you probably have at home. It works by pouring water over coffee grounds, which then drips down into a carafe.
- Espresso Machine: If you love strong, concentrated coffee, an espresso machine is for you. It uses pressure to force hot water through finely ground coffee, creating a rich and flavorful shot of espresso.
- French Press: This coffee maker is perfect for those who enjoy a full-bodied and robust cup of coffee. It uses a plunger and a mesh filter to steep coffee grounds in hot water, extracting all the flavors and oils.
- Single Serve Coffee Maker: If you prefer convenience and variety, a single-serve coffee maker is a great option. These machines use pre-packaged coffee pods or capsules to quickly brew a single cup of coffee.
- Pour Over Coffee Maker: This method involves pouring hot water over coffee grounds manually. It allows you to have precise control over the brewing process, resulting in a clean and flavorful cup of coffee.
What is the brewing capacity of the coffee machine I am interested in?
The brewing capacity of the coffee machine you are interested in is 10 cups.
Does the coffee machine have a built-in grinder or do I need to buy one separately?
The coffee machine does not have a built-in grinder. You will need to buy one separately.
How do I clean and maintain my coffee machine?
To clean and maintain your coffee machine, follow these simple steps:
- Regular cleaning: After each use, rinse the removable parts, like the filter basket and carafe, with warm, soapy water. Make sure to remove any coffee grounds or residue.
- Descaling: Over time, mineral deposits can build up in your coffee machine, affecting its performance. To descale, fill the water reservoir with a mixture of equal parts water and white vinegar. Run a brew cycle halfway, then pause for about 30 minutes. Resume the cycle, allowing the vinegar solution to run through. Finally, run two cycles with fresh water to rinse out any remaining vinegar.
- Wipe down the exterior: Use a damp cloth to wipe the exterior of your coffee machine regularly. This will help remove any spills or stains.
- Clean the water reservoir: Empty and rinse the water reservoir regularly to prevent any buildup of bacteria or mold. You can also use a mild detergent to clean it thoroughly.
- Check the brewing components: Remove the spray head and filter basket, and inspect for any clogs or debris. Clean them if necessary.
- Replace the water filter: If your coffee machine has a water filter, follow the manufacturer’s instructions on when and how to replace it. This will ensure the best-tasting coffee.
What is the warranty period for the coffee machine?
The warranty period for the coffee machine is one year.
Can I use coffee pods or capsules with this machine?
Absolutely! This machine is designed to work with coffee pods or capsules, so you can enjoy your favorite coffee flavors with ease. Just pop in your preferred pod or capsule, press the button, and voila! You’ll have a delicious cup of coffee in no time. Happy brewing!
Are there any additional accessories or features that come with the coffee machine?
Yes, there are additional accessories and features that come with the coffee machine. Some common accessories might include a milk frother, a coffee grinder, or a reusable coffee filter. Additionally, certain coffee machines may have features like a programmable timer, a built-in water filter, or a temperature control setting. It’s always a good idea to check the product description or ask the manufacturer or retailer for specific details about the accessories and features included with the coffee machine you are interested in.
