In this step-by-step guide, you will learn how to prevent milk from sticking to the sides of a milk pitcher. This guide is designed to help you achieve perfectly frothed milk every time, without any of it getting wasted or stuck to the sides of the pitcher. Follow these simple steps to ensure a smooth and enjoyable milk frothing experience.
Table of Contents
Pour with Perfection: Top Milk Pitchers!


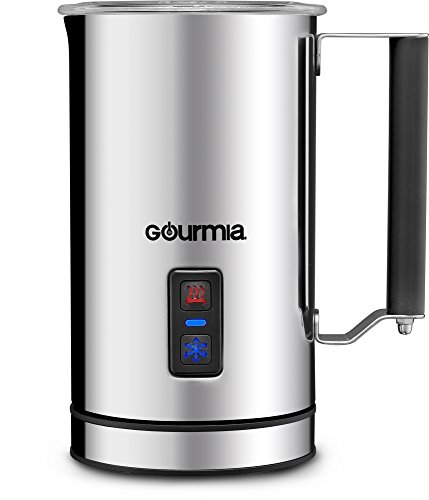
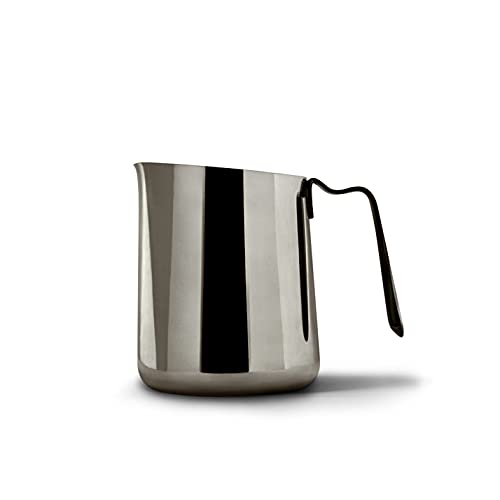
Choose the right milk pitcher
When selecting a milk pitcher, it is important to choose one that is made of stainless steel or non-stick material. Why? Because these materials help prevent milk from sticking to the sides of the pitcher, making it easier to pour and clean up afterwards. With a stainless steel or non-stick milk pitcher, you can say goodbye to those frustrating moments when milk residue clings to the sides, making it difficult to achieve that perfect latte art. So, be sure to look for a pitcher that is designed with these materials to enhance your milk frothing experience.
Here are a few key points to keep in mind when choosing the right milk pitcher:
- Opt for a pitcher made of stainless steel or non-stick material to prevent milk from sticking to the sides.
- Consider the capacity of the pitcher based on your needs – smaller pitchers are great for single servings, while larger ones are ideal for making multiple drinks.
- Look for a pitcher with a tapered spout, as it allows for better control and precision when pouring the milk into your cup or coffee.
- Ensure that the handle is comfortable and provides a firm grip, as this will make it easier to maneuver the pitcher while frothing or pouring.
- Lastly, consider the overall design and aesthetic appeal of the pitcher, as it can add a touch of style to your coffee-making routine.
By following these simple tips, you’ll be well on your way to selecting the perfect milk pitcher for your coffee creations. Happy frothing!


Preheat the milk pitcher
To preheat the milk pitcher, start by turning on the hot water tap. Hold the pitcher under the running water, making sure all sides of the pitcher come in contact with the hot water. Keep the pitcher under the running water for a few seconds, allowing the heat to warm up the surface of the pitcher. This will create a warm environment that will help prevent the milk from sticking to the pitcher when you pour it in.
After running the pitcher under the hot water, gently shake off any excess water. Make sure the entire surface of the pitcher is warm to the touch before proceeding to pour in the milk. By preheating the pitcher, you are creating a barrier that reduces the chances of the milk sticking, resulting in a smoother pouring experience and a better milk texture for your coffee or latte. Remember to be careful when handling hot water and ensure the pitcher is dry before using it to avoid any accidents.


Use a clean and dry pitcher
To ensure the best results when using a milk pitcher, it is important to make sure it is clean and dry before use. Any residue or moisture left in the pitcher can increase the chances of the milk sticking and affecting the overall quality of your drink. Follow these simple steps to ensure the cleanliness and dryness of your milk pitcher:
- Wash the pitcher: Start by washing the milk pitcher with warm water and a mild detergent. Use a sponge or soft cloth to scrub the inside and outside of the pitcher, paying extra attention to any stubborn stains or residue. Rinse thoroughly with clean water to remove all the soap.
- Inspect for cleanliness: After washing, inspect the pitcher to ensure it is free from any remaining residue or stains. Check the inside and outside surfaces carefully, as even the smallest traces of residue can affect the milk’s texture and taste. If needed, repeat the washing process until the pitcher is visibly clean.
- Dry the pitcher: Once the pitcher is clean, it is crucial to dry it thoroughly before use. Use a clean, lint-free towel to wipe the inside and outside surfaces of the pitcher. Pay special attention to the bottom and any crevices where moisture may accumulate. This step is essential to prevent any leftover moisture that could cause the milk to stick.
By following these steps, you will ensure that your milk pitcher is clean and dry before use, minimizing the chances of milk sticking and ensuring the best results for your beverage. Enjoy your perfectly frothed milk!


Pour milk slowly
When pouring milk into the pitcher, it’s important to do it slowly and steadily. This helps prevent any unnecessary splashing and reduces the chances of milk sticking to the sides. To achieve this, hold the milk container with one hand and position it just above the pitcher. Begin pouring the milk using a controlled motion, allowing it to flow out in a smooth stream. Take your time and pay attention to the speed of the pour, ensuring it is not too fast. By maintaining a slow and steady pour, you’ll have better control over the milk and minimize any mess or waste.
Pouring slowly also allows the milk to integrate smoothly with other ingredients and avoids any sudden temperature changes that could affect the overall texture of your beverage. It’s important to be patient during this process, as rushing can lead to unwanted consequences. By taking your time and pouring slowly, you’ll be able to enjoy a perfectly blended and delicious drink without any unnecessary hassle. So, remember to keep a steady hand and pour your milk slowly into the pitcher to achieve the best results.


Swirl the milk gently
After pouring the milk, gently swirl the pitcher in a circular motion. This will help distribute the heat evenly and reduce the chances of milk sticking to the sides. Here’s how you can do it:
- Hold the pitcher with both hands, ensuring a firm grip.
- Start by moving your wrists in a circular motion, gradually increasing the size of the circles.
- As you swirl the milk, make sure to maintain a gentle and steady pace.
- Continue swirling until you notice the milk taking on a smooth and creamy consistency.
- Be cautious not to swirl too vigorously, as it can create excessive foam or spillage.
- Once the milk has reached your desired texture, you can stop swirling and proceed with your coffee preparation.
Remember, swirling the milk gently is an essential step to achieve a perfectly steamed and frothed milk for your favorite hot beverages. Enjoy the velvety smoothness in every sip!

Wrap it up!
In conclusion, you now have the ultimate guide to preventing milk from sticking to the sides of your milk pitcher. By following these simple steps, such as properly heating the pitcher, using the correct milk temperature, and utilizing a smooth pouring technique, you can say goodbye to those pesky milk residue stains. Remember to clean your milk pitcher regularly to maintain its pristine condition. With these tips in your arsenal, you will be able to enjoy perfectly poured milk in your favorite beverages every time. Cheers to a hassle-free milk frothing experience!
Gather Your Supplies


Milk Pitcher Mastery
Steaming Milk for Latte Art: Avoiding Common Mistakes and Achieving Perfection
Getting the most out of your Milk Pitcher
- Start with cold milk: For best results, use cold milk straight from the refrigerator. This will help create better texture and froth
- Fill the pitcher: Pour the desired amount of milk into the pitcher, making sure not to overfill it. It’s recommended to fill it no more than halfway to leave enough space for the milk to expand
- Position the steam wand: Place the steam wand of your espresso machine or milk frother just below the surface of the milk, positioning it towards the side of the pitcher
- Create a whirlpool: Turn on the steam wand and slowly begin to lower the pitcher, while keeping the steam wand near the surface. This will create a whirlpool effect, helping to mix the milk and create a smooth texture
- Texture the milk: As the milk starts to heat up, you can adjust the position of the steam wand to control the amount of froth you want. Tilt the pitcher slightly to encourage the milk to circulate
- Remember, practice makes perfect when it comes to using a milk pitcher. Don’t be discouraged if you don’t get it right the first time, and feel free to experiment with different techniques and milk types to find what works best for you. Enjoy your frothy milk creations!
