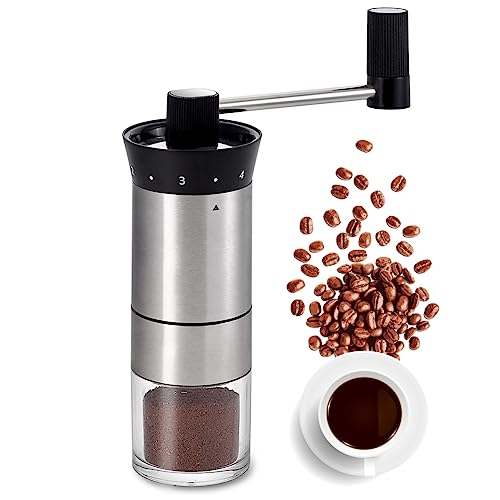
In this step-by-step guide, you will learn how to disassemble a coffee grinder. By following these instructions, you can easily maintain and prolong the life of your grinder.
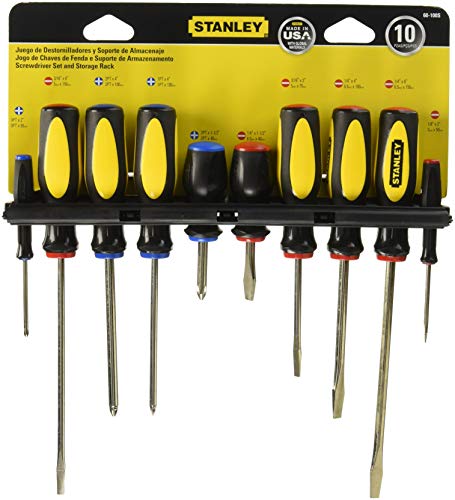
- Gather the necessary tools: You will need a screwdriver, a soft brush, and a clean cloth.
- Unplug the grinder: Before starting, make sure the grinder is unplugged to avoid any accidents.
- Remove the hopper: The hopper is the container that holds the coffee beans. Twist or unlock the hopper from the grinder and set it aside.
- Take out the grinding burrs: The grinding burrs are the parts responsible for grinding the coffee beans. Use the screwdriver to remove the screws that hold the burrs in place. Gently lift out the burrs and place them on a clean cloth.
- Clean the burrs: Use the soft brush to remove any coffee grounds or residue from the burrs. Be gentle to avoid damaging them.
- Clean the hopper and other parts: Wipe the hopper, lid, and other removable parts with a clean cloth. You can also use a mild detergent to remove any stubborn stains.
- Reassemble the grinder: Once all the parts are clean and dry, carefully put everything back together. Make sure the burrs are properly aligned and securely fastened with the screws.
- Test the grinder: Plug in the grinder and test it to ensure everything is working correctly. If you notice any unusual noises or issues, double-check the assembly.
Table of Contents
Keep Your Grinder Working Like New
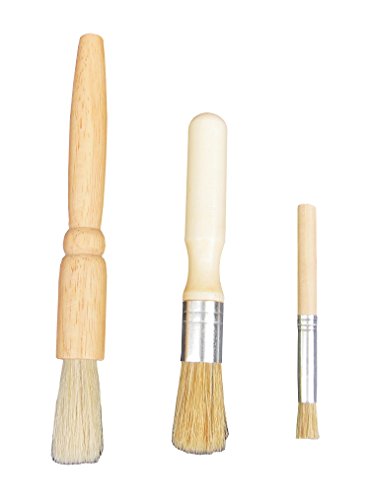


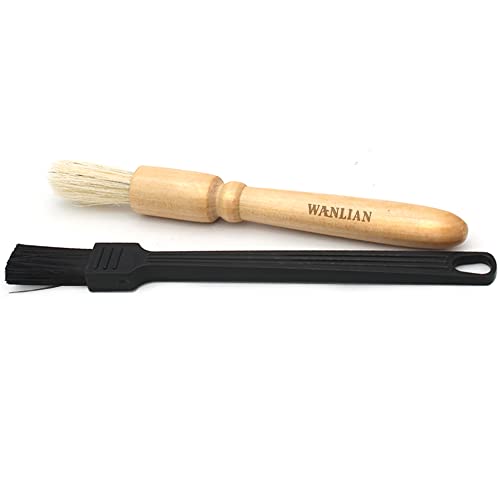
Gather the necessary tools
Before you start any task, it’s important to gather the necessary tools. This ensures that you have everything you need to get the job done efficiently and effectively. In this case, you will need three essential tools: a screwdriver, a small brush, and a clean cloth.
Firstly, the screwdriver is a versatile tool that is commonly used to tighten or loosen screws. It comes in various sizes and types, so make sure you have the appropriate one for the task at hand. A flat-head or a Phillips-head screwdriver are the most commonly used types.
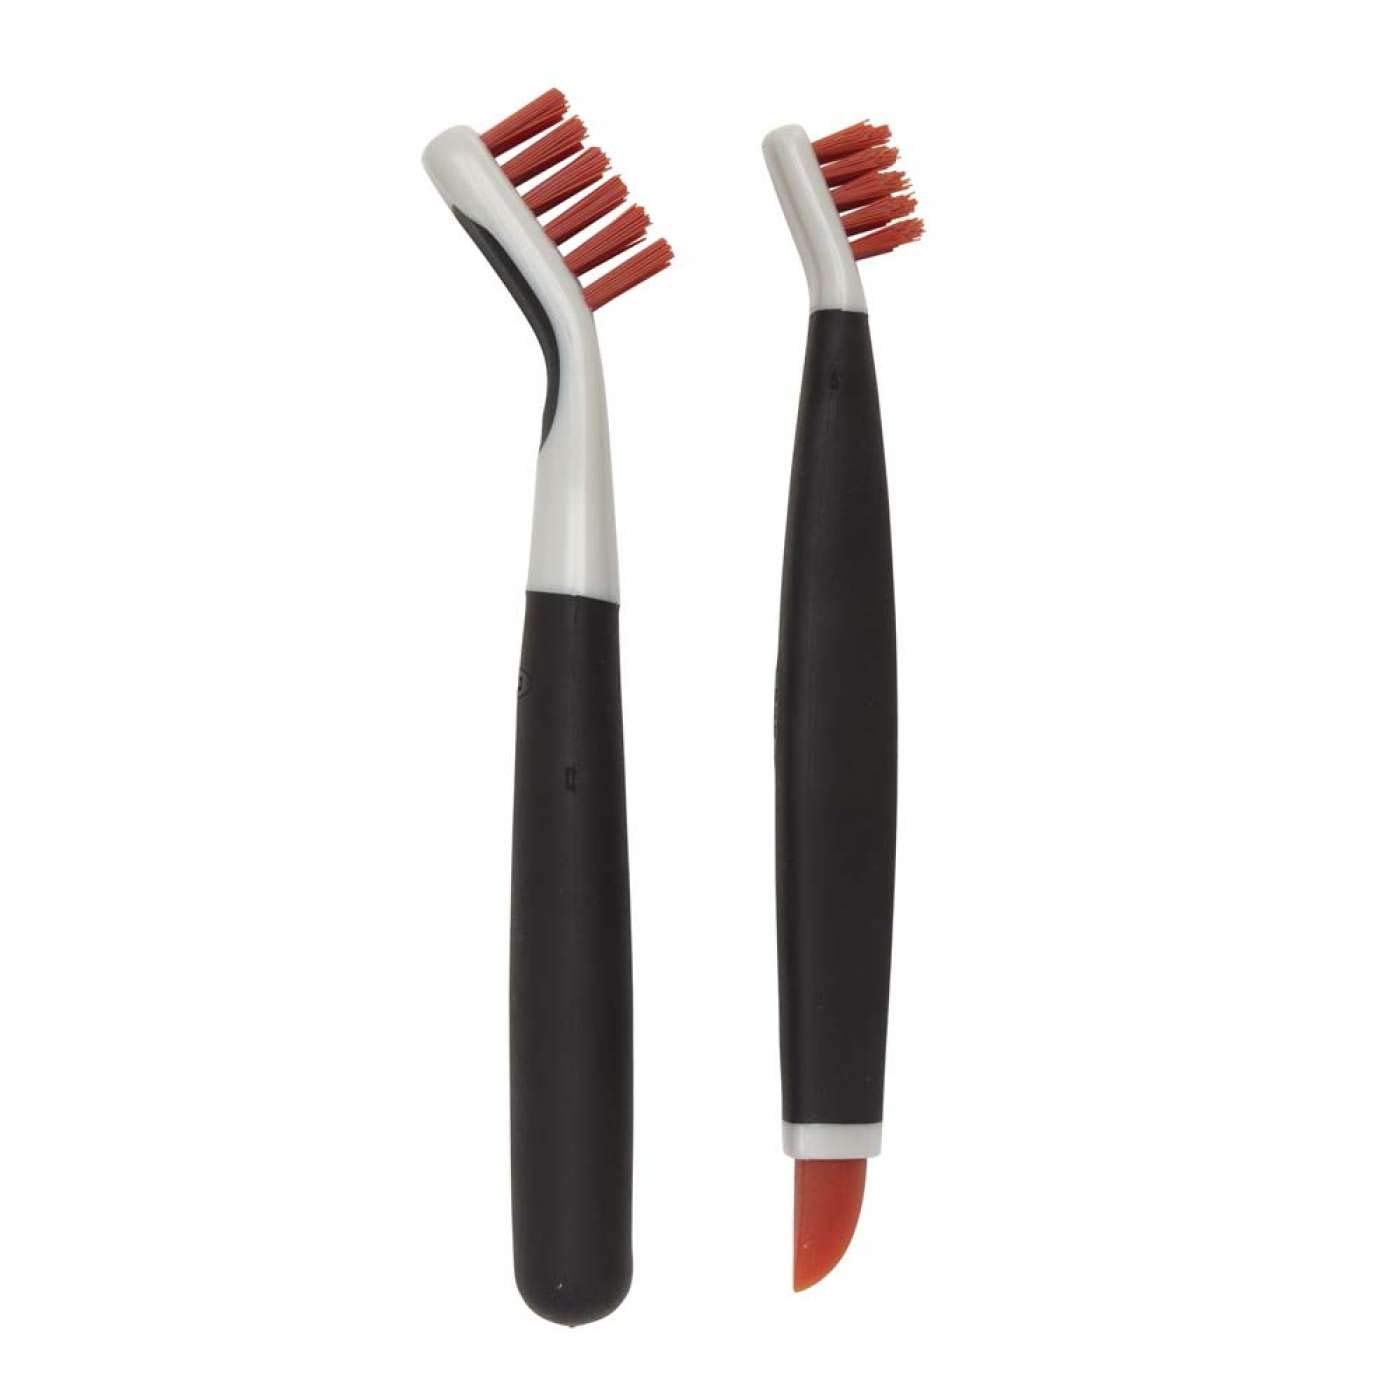
Next, a small brush is essential for cleaning hard-to-reach places or removing dust and debris from surfaces. It can be particularly useful when working with electronics or intricate machinery. Choose a brush with soft bristles to avoid scratching delicate surfaces.
Lastly, a clean cloth is important for wiping away any dirt, grease, or residue. It should be lint-free to prevent leaving any unwanted particles behind. You can use the cloth to clean surfaces, remove fingerprints, or apply cleaning solutions.
Remember, having the right tools before starting any project can save you time and frustration. So, make sure you have a screwdriver, a small brush, and a clean cloth on hand before you begin.


Unplug the coffee grinder
To ensure your safety, it is important to always unplug the coffee grinder before trying to disassemble it. By doing so, you eliminate the risk of accidents or electrical shocks. For example, imagine you are in the process of disassembling the coffee grinder while it is still plugged in. Accidentally touching a live wire or a moving part could result in an electric shock or injury. However, by simply unplugging the grinder before starting, you create a safe environment to work with.
To unplug the coffee grinder, locate the power cord connected to the wall outlet or power source. Firmly grip the plug and gently pull it out from the socket. Ensure that you pull directly on the plug itself and not the cord to avoid any damage. Once the plug is detached, double-check that the grinder is no longer receiving power by looking for any indicator lights or listening for any motor sounds. Now you can proceed with disassembling the coffee grinder without any risk of electrical hazards. Remember, safety should always be your top priority!


Remove the hopper
To remove the hopper from your coffee grinder, follow these simple steps:
- Prepare your workspace: Make sure to unplug the grinder before you begin. This ensures your safety and prevents any accidental grinding.
- Locate the hopper: The hopper is the container that holds the coffee beans. It is usually placed on top of the grinder. Look for a cylindrical or cone-shaped container with a lid.
- Twist counterclockwise: In most cases, you can remove the hopper by twisting it counterclockwise. Hold the hopper firmly with one hand and use your other hand to twist it in the opposite direction. Apply gentle pressure until the hopper starts to loosen.
- Follow manufacturer’s instructions: Some grinders may have specific instructions for removing the hopper. If twisting counterclockwise doesn’t work, refer to the user manual or the manufacturer’s website for guidance. They may suggest alternative methods or provide additional steps to detach the hopper.
Remember, always consult the user manual for your specific grinder model for the most accurate instructions. With these easy steps, you’ll be able to remove the hopper from your coffee grinder safely and effortlessly. Happy brewing!


Take out the grinding mechanism
To take out the grinding mechanism, first, remove the hopper from your grinder. This will give you access to the mechanism itself. Depending on the design of your grinder, you may need to unscrew or unlock the mechanism.
For example, if your grinder has a screw-on mechanism, turn it counterclockwise to unscrew it. If it has a lock, look for a lever or button that needs to be released to unlock the mechanism. Refer to your grinder’s user manual if you are unsure about the specific steps.
Once you have loosened or unlocked the mechanism, carefully lift it out of the grinder. Be gentle to avoid any damage to the mechanism or the grinder itself. Take note of any additional parts or attachments that may be connected to the mechanism and remove them accordingly.
Remember to always exercise caution when handling the grinding mechanism, as it may contain sharp or delicate components.


Clean the disassembled parts
To clean the disassembled parts of your coffee grinder, follow these simple steps:
- Using a small brush, gently remove any coffee grounds or debris from the hopper, grinding mechanism, and other detachable parts. Be sure to brush away any residue that may have accumulated.
- After brushing away the loose debris, take a clean cloth and wipe down the parts to remove any remaining dirt or grime. Make sure to wipe all surfaces thoroughly, including crevices and hard-to-reach areas.
- If there are any stubborn stains or build-up, you can dampen the cloth slightly with water or a mild cleaning solution. However, be cautious not to use any abrasive cleaners or submerge the parts in water, as this may damage the grinder.
- Once you have wiped the parts clean, double-check that there are no leftover coffee grounds or residue. It’s important to ensure that all components are completely dry before reassembling the grinder.
Remember, regular cleaning and maintenance of your coffee grinder will help keep it running smoothly and ensure you enjoy delicious cups of coffee every time.


Reassemble the coffee grinder
To reassemble the coffee grinder after cleaning the parts, follow these simple steps:
- Begin with the hopper: Place the hopper back onto the top of the grinder. Make sure it sits securely and aligns with the grinding chamber.
- Attach the burr: Take the burr and carefully position it inside the grinding chamber. Rotate it until it locks into place. Ensure that it is aligned properly and sits flat.
- Secure the grind adjustment ring: Place the grind adjustment ring back onto the grinder body. Make sure it fits snugly and rotates smoothly. Double-check that it aligns with the desired grind setting.
- Reattach the collection chamber: Position the collection chamber beneath the grinder body. Slide it into place until it clicks or locks. Ensure it is securely attached and aligned.
- Attach the power cord: Connect the power cord to the grinder. Make sure it is plugged securely into a power outlet.
- Test the grinder: Before using, turn on the grinder briefly to ensure everything is working properly. Listen for any unusual noises or vibrations.
Remember, it’s important to follow the reverse order of disassembly when reassembling your coffee grinder. Take your time and ensure that everything is securely attached and aligned properly. Happy grinding!
Wrap it Up!
Congratulations! You have now reached the end of our blog post on how to disassemble a coffee grinder. By following the steps we have provided, you should feel confident in your ability to take apart and clean your coffee grinder. Not only will this help to maintain its performance, but it will also extend its lifespan, ensuring that you can continue to enjoy fresh, delicious coffee for years to come. So go ahead and give it a try! Happy grinding!
Gather Your Gear


Expert advice for dismantling!
Getting the most out of your coffee grinder
- Regular cleaning: Make sure to clean your coffee grinder regularly to prevent any build-up of coffee residue. This can be done by wiping the grinder with a damp cloth or using a brush to remove any stuck coffee particles
- Burr inspection: If your coffee grinder has burrs, it’s important to inspect them periodically. Look for any signs of wear or damage, and replace them if necessary. This will ensure a consistent grind and prevent any unwanted flavors in your coffee
- Calibration: Some coffee grinders allow you to calibrate the grind size. It’s a good idea to experiment and find the right setting that suits your brewing method. This will help you achieve the desired flavor and extraction
- Lubrication: Depending on the type of grinder you have, it might require occasional lubrication. Check the manufacturer’s instructions for guidance on how to lubricate your specific grinder. This will help keep it running smoothly and extend its lifespan
- Storage: When not in use, it’s best to store your coffee grinder in a dry and clean place. This will protect it from any moisture or dust that may affect its performance
- Remember, taking care of your coffee grinder will ensure that it continues to provide you with delicious and consistent coffee grounds for a long time. Happy grinding!
